
Setting a Static IP Address in Windows 7, 8, or 10
To set a Static IP Address in Windows 7, 8, or 10, you’ll need to open the “Network Connections” window. Press Windows+R on your keyboard simultaneously .
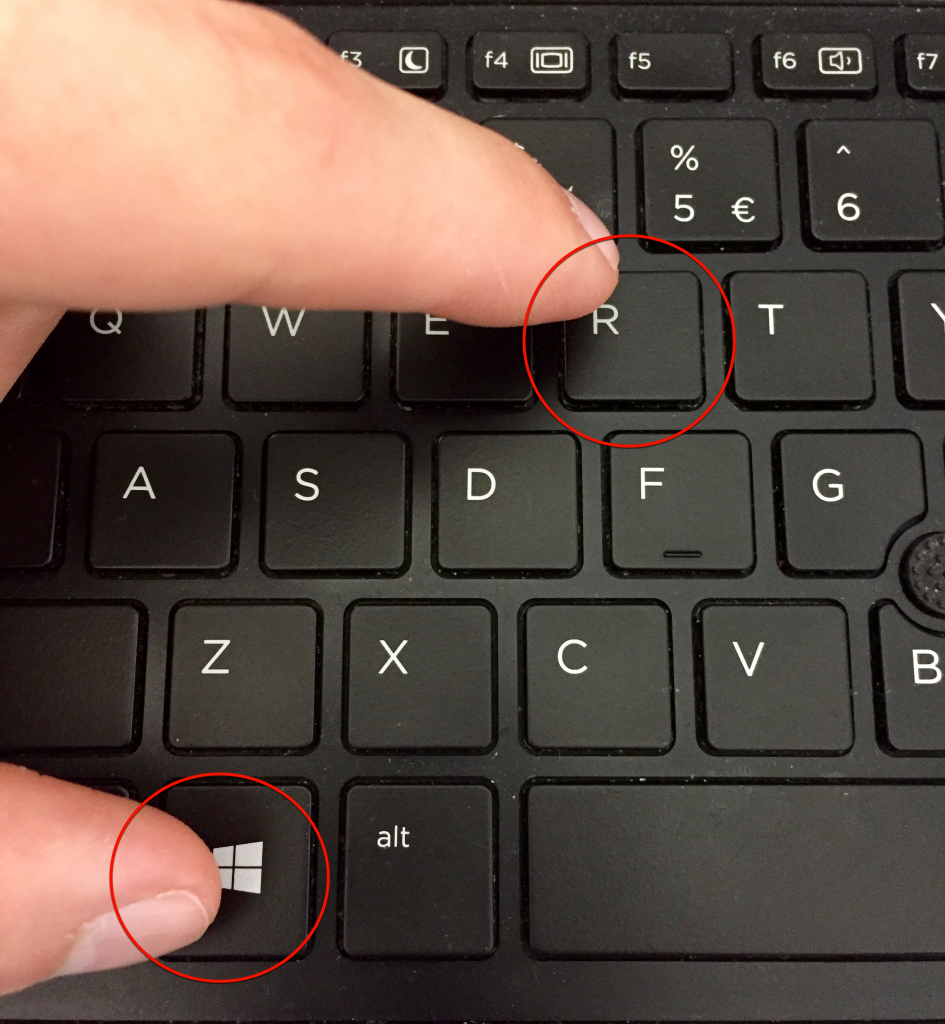
Type ncpa.cpl into the Run box, and then hit Enter.

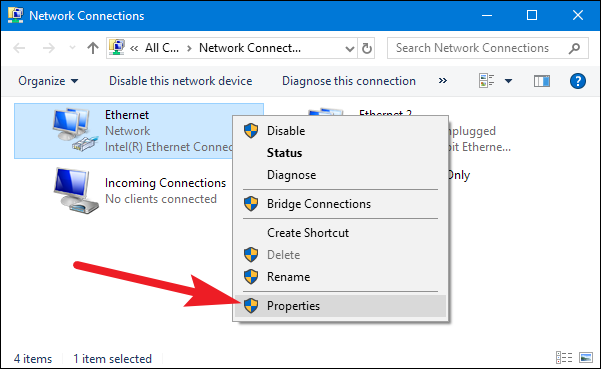
In the “Network Connections” window, right-click the adapter for which you want to set a static IP address, and then select the “Properties” command.
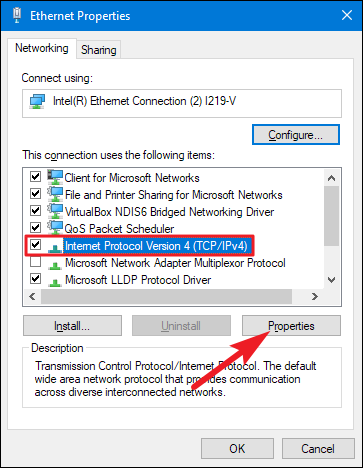
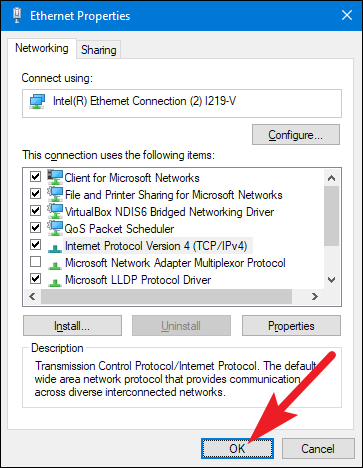
In the properties window for the adapter, select “Internet Protocol Version 4 (TCP/IPv4)” and then click the “Properties” button.
Select the “Use the following IP address” option, and then type in the IP address 192.168.0.141 , Subnet mask 255.255.255.0 . When you’re ready, click the “OK” button.
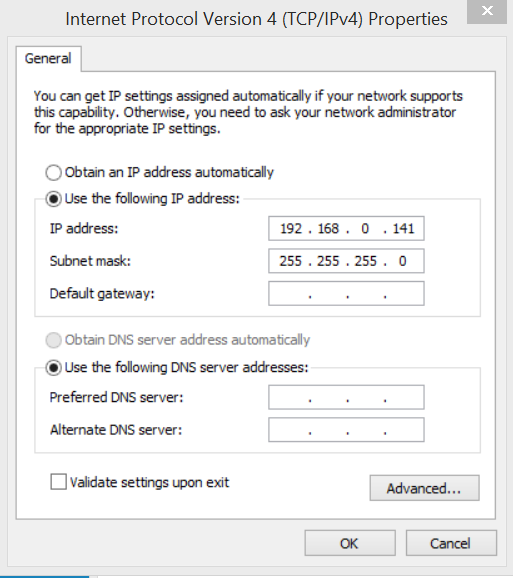
And then close out of the network adapter’s properties window.
Windows automatically runs network diagnostics to verify that the connection is good. If there are problems, Windows will give you the option of running the Network troubleshooting wizard.
Setting a Static IP Address in Windows Vista
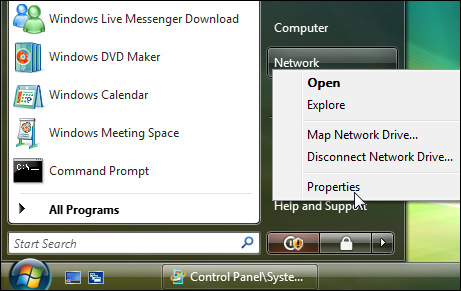
Changing your IP from DHCP to a Static address in Vista is similar to other versions of Windows, but getting to the correct location is a bit different. Open the Start Menu, right-click on Network, and select Properties.
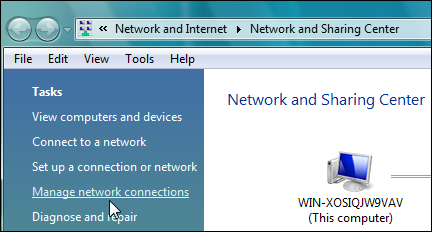
The Network and Sharing Center opens…click on Manage network connections.
Right-click on the network adapter you want to assign an IP address and click Properties.

Highlight Internet Protocol Version 4 (TCP/IPv4) then click the Properties button.

Select the “Use the following IP address” option, and then type in the IP address 192.168.0.141 , Subnet mask 255.255.255.0 . When you’re ready, click the “OK” button.
You’ll need to close out of Local Area Connection Properties for the settings to go into effect.

Setting a Static IP Address in Windows XP
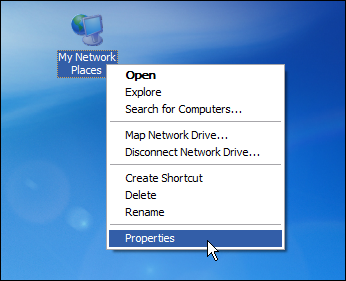
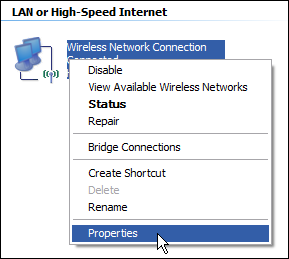
To set a Static IP in Windows XP, right-click the “My Network Places” icon, and then select “Properties.”
Right-click the adapter for which you want to set the IP, and then select “Properties” from the context menu.
Select the “Internet Protocol (TCP/IP)” entry, and then click the “Properties” button.

Select the “Use the following IP address” option, and then type in the IP address 192.168.0.141 , Subnet mask 255.255.255.0 . When you’re ready, click the “OK” button.
You will need to close out of the adapter’s properties window before the changes go into effect.

To verify your new settings in Windows 7, 8, 10, XP, or Vista by using the ipconfig command at the command prompt.
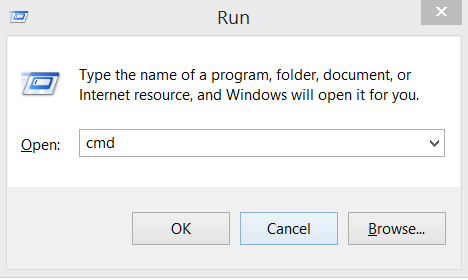
Press Windows+R on your keyboard simultaneously .
Type cmd into the Run box, and then hit ok.
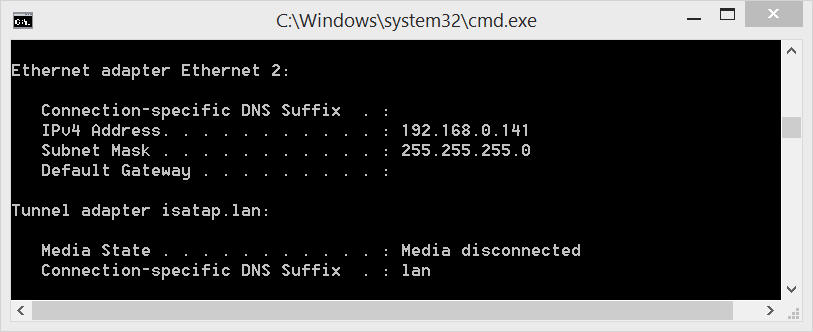
Type ipconfig into the command prompt, and then hit Enter.
Youtube videos tutorials to assign static IP address on Windows